
If I want the short answer: paint usually lasts longer, while stain is often easier to maintain. In San Gabriel Valley, strong sun, dry heat, sprinklers, and winter moisture can wear down a wood fence fast. That means the right finish depends on wood type, fence condition, sun exposure, and how much upkeep I’m willing to do.
Here’s the plain-English takeaway:
- Paint can last about 7 to 10 years, but it may peel or chip, which means more prep later.
- Semi-transparent stain often lasts 3 to 4 years and lets the wood grain show.
- Solid stain often lasts 4 to 6 years and is a middle-ground option.
- Transparent stain keeps the most natural look, but usually needs recoating in 2 to 3 years.
- Cedar and redwood often look best with stain.
- Pressure-treated pine often works better with paint or solid stain after a 30- to 60-day cure time.
- Prep matters a lot: wash, dry for 48 to 72 hours, repair damage, and coat in 50°F to 90°F weather.
If I’m comparing finishes, this is the fastest way to sort them out:
Quick Comparison
| Finish | Look | Usual Lifespan | Upkeep | Best fit |
|---|---|---|---|---|
| Paint | Solid color, no grain | 7–10 years | More work when it fails | Older fences, color match jobs |
| Solid stain | Solid color, wood texture still shows | 4–6 years | Less prep than paint in many cases | Weathered wood, repaint/stain jobs |
| Semi-transparent stain | Grain shows through | 3–4 years | Wash and recoat | Cedar and redwood |
| Transparent stain | Near-natural look | 2–3 years | Most frequent recoats | New wood with a natural look |
I’d use this guide to match the finish to the fence itself - not just to the color I like.
Paint vs. Stain: What Works Best in San Gabriel Valley
Paint, solid stain, and semi-transparent or transparent stain each give you a different mix of looks, lifespan, and upkeep. There’s no perfect pick across the board. In most cases, the longer a finish lasts, the more work it can take when it’s time to deal with wear.
Appearance, Grain Visibility, and Color Options
Exterior paint gives a fully opaque, even finish. It covers grain, knots, and surface flaws from top to bottom, so it works well if you want a clean, matched color that lines up with your home’s trim.
Solid stain is opaque too, but it doesn’t look quite as flat as paint. It hides the grain while still letting the wood’s surface texture come through. The result feels more like colored wood than a painted shell.
Semi-transparent stain lets the grain stay visible under a tinted tone. Transparent stain keeps the wood looking close to bare and natural, with only a light layer of protection.
Durability, Recoat Cycles, and Long-Term Upkeep
Paint tends to last the longest. With premium products and proper prep, it can hold up for 7 to 10 years. The catch is what happens when it starts to fail: it peels and chips, which means scraping and sanding before recoating. On fences, that damage usually shows up first on the sections that get hit hardest by sun and weather.
Stains wear down in a gentler way. Instead of peeling off in sheets, they usually fade over time. A semi-transparent stain often lasts 3 to 4 years, while solid stain usually lasts 4 to 6 years. That makes recoat work much simpler in many cases. Most of the time, you just need a solid cleaning before applying more product, with no scraping required.
For many homeowners, that’s the big trade-off: paint lasts longer between coats, but stain is often easier to deal with when maintenance comes around.
| Finish Type | Appearance | UV & Moisture Protection | Maintenance | Typical Lifespan | Best Fit For |
|---|---|---|---|---|---|
| Exterior Paint | Opaque; hides grain | High moisture barrier; prone to sun-blistering | Scrape and sand to recoat | 7–10 years | Older fences with heavy wear or specific color needs |
| Solid Stain | Opaque; shows texture | High UV protection; good moisture resistance | May peel; easier than paint | 4–6 years | Weathered fences or those previously stained or painted |
| Semi-Transparent Stain | Tinted; grain shows through | Moderate UV protection; penetrates wood | Wash and recoat | 3–4 years | New or well-maintained cedar and redwood fences |
| Transparent Stain | Nearly natural look | Lowest UV protection; allows natural aging | Frequent reapplication | 2–3 years | New wood where a completely natural look is desired |
Cost Over Time for Homeowners and Property Managers
Material price is part of the story, but not the whole thing. Mid-tier stains usually cost $25 to $45 per gallon, while premium penetrating oils run about $45 to $75 per gallon. Premium exterior paints can reach $70 to $80 per gallon.
For a full fence project done by a pro, total cost usually lands between $500 and $2,500, depending on fence size, prep work, and the finish you choose.
Over a span of several years, maintenance labor starts to matter more than the first invoice. Paint often costs more when it fails because prep work takes longer. Stain usually costs less each time you recoat, but you’ll need to do it more often.
The next step is matching those cost and upkeep differences to the fence’s wood, age, and existing finish.
Choosing the Right Finish for Your Wood Type, Fence Condition, and Curb Appeal
After you pick paint vs. stain, the next filter is the fence itself. The wood species, the age of the boards, and whatever is already sitting on the surface all shape what will work well before color even enters the picture.
Best Finish for Cedar, Redwood, and Pressure-Treated Pine
Cedar usually looks best with a semi-transparent stain. It gives the wood a layer of protection without covering up the grain.
Redwood follows the same general path. An oil-based semi-transparent stain helps hold onto that red tone and slows the graying that harsh sun can bring on. If the redwood is new and you want the most natural look, a clear UV protectant can also make sense.
Pressure-treated pine plays by different rules. New boards need time to cure before you coat them. In most cases, that means 30 to 60 days, or until the moisture level drops below 15%. After that, paint or solid-color stain tends to work best because it covers the greenish treatment tone and surface residue left from the treatment process.
Once you know the wood type, look at the fence’s condition. That usually knocks out a few weak choices right away.
What to Do with New, Previously Painted, or Weathered Fences
New cedar or redwood should dry out all the way before staining.
If a fence was painted before and the coating is still in good shape, you can usually clean it, sand it lightly, and repaint. If the paint is peeling, scrape and sand it back to a sound surface before adding a new coat.
Old wood that’s weathered or turning gray needs more prep. In that case, solid stain or paint is often the better move because it covers uneven color and hides patchy areas.
| Fence Condition | Recommended Finish | Key Prep Step |
|---|---|---|
| New cedar or redwood | Semi-transparent stain | Dry fully before staining |
| New pressure-treated pine | Paint or solid stain | 30–60 day cure before finishing |
| Previously painted (intact) | Paint or solid stain | Clean, sand rough spots, spot-prime |
| Weathered or graying | Solid stain or paint | Power wash + wood brightener |
Color and Stain Tone Choices That Fit Southern California Exteriors
A simple way to make the fence look more pulled together is to match it to the home’s trim color instead of the main body color. That usually gives the whole exterior a cleaner, more planned look.
For cedar and redwood, warm browns and mid-grays are solid picks. Darker shades like charcoal and matte black can also look sharp. They add contrast against light stucco or siding and make the yard feel more defined.
In the San Gabriel Valley, strong sun and heat are a big deal. So it’s smart to choose UV-resistant exterior coatings made for that kind of exposure.
Also, check HOA color rules before you buy anything. After color, prep is the next big limit on what finish makes sense.
Preparation and Application Steps That Affect How Long a Finish Lasts
Cleaning, Drying, Repairs, and Surface Prep
Prep decides how long a finish sticks around. Start by cutting back grass, shrubs, and tree limbs from the fence. When plants press against the wood, they hold moisture there, and that wears down a new finish faster. Put down plastic drop cloths to shield nearby plants and hardscape areas from drips. Cover gate latches and hinges with painter's tape, or take them off before you begin. Then move right into washing and drying.
Washing and drying the right way is a big part of long finish life. Wash the fence with a pressure washer using a wide fan tip, and keep pressure under 1,500 PSI so you don't gouge the wood grain. If you're dealing with mildew or stuck-on grime, use a wood cleaner or brightener before rinsing. After washing, let the wood dry all the way for 48 to 72 hours before you put on any coating. A simple water-bead test helps here: if water beads up, the fence needs more drying; if it soaks in, the wood is ready.
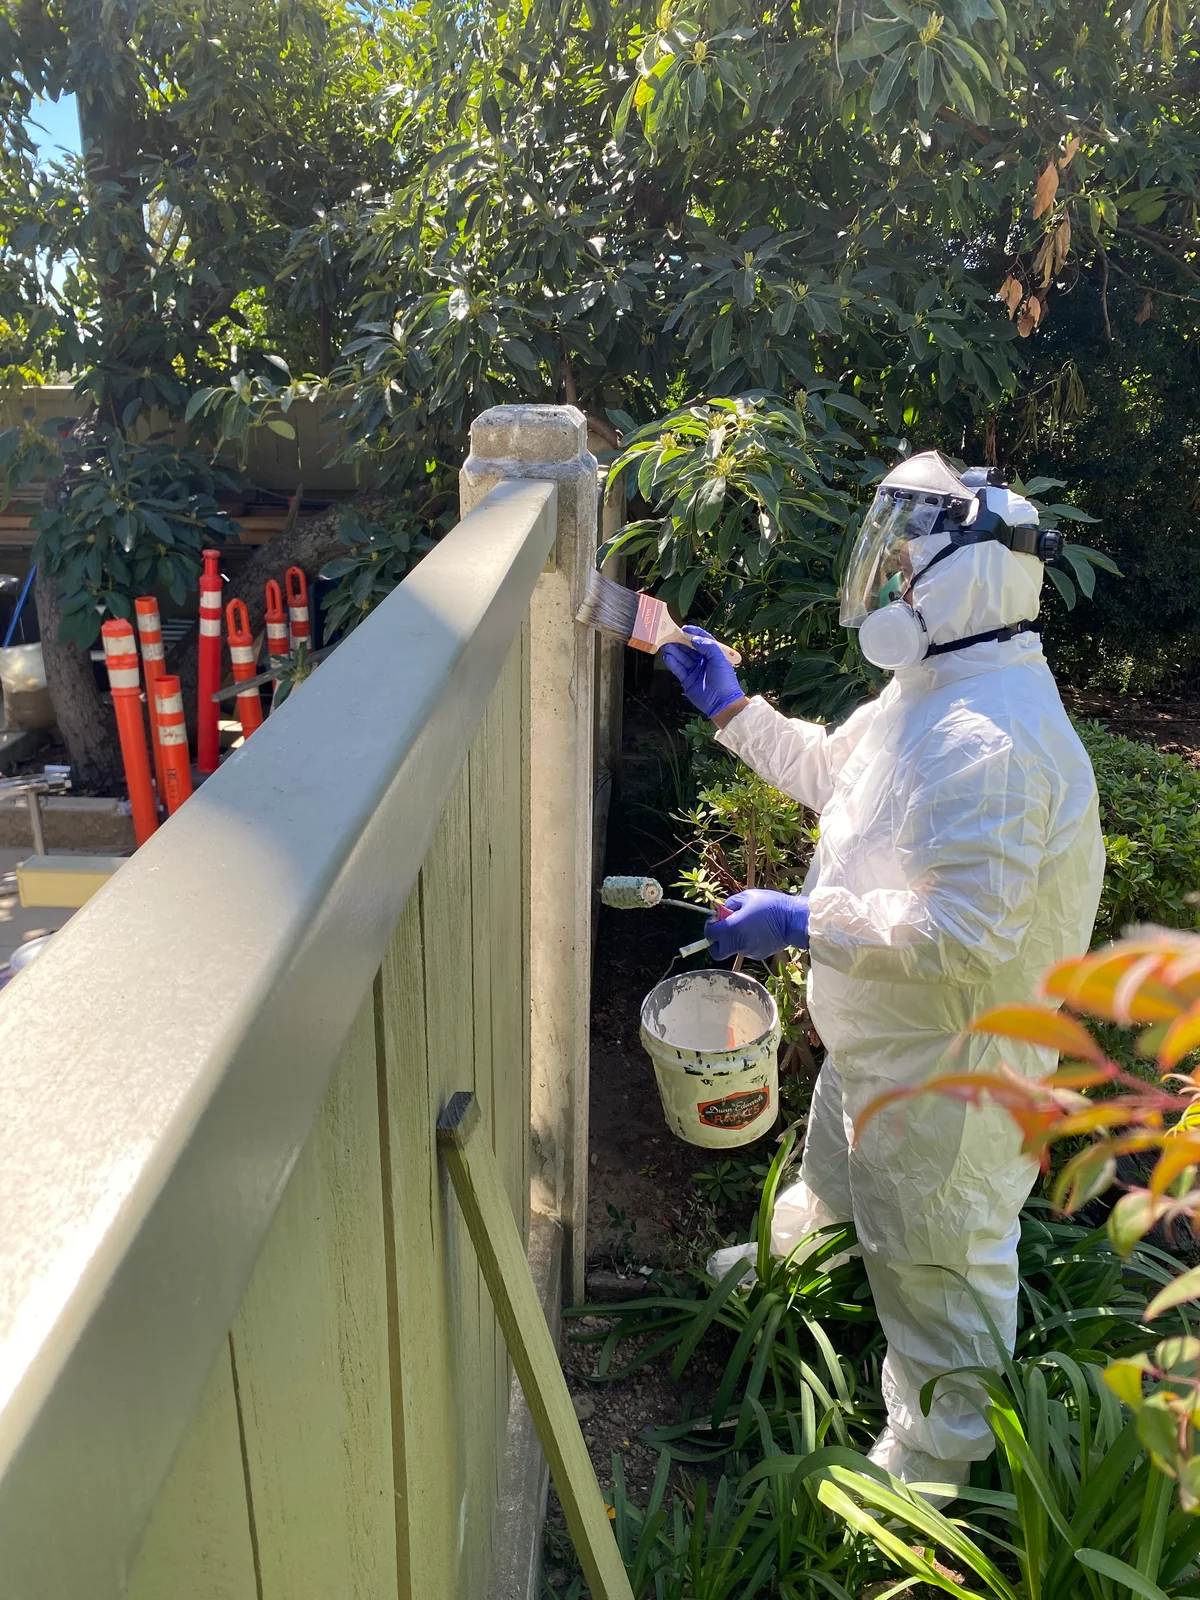
Once the fence is dry, handle repairs. Tighten loose nails and screws, swap out rotted or warped boards, and fill chips or gouges with exterior wood filler. Look closely at the bottoms of posts and boards. Those spots pull moisture from the soil and often fail first. For stain, the wood needs open pores so the product can soak in. For paint, the surface needs to be clean and smooth so the coating can grip. That means scraping off peeling paint and lightly sanding new lumber to remove the slick factory surface on new lumber or on a previously painted fence to help adhesion. If the fence sits near a home built before 1978, skip dry-sanding old paint because it may contain lead. All of this affects how evenly stain or paint bonds.
Applying Stain for Even Penetration and Easier Future Upkeep
Stain sinks into the wood instead of sitting on top, so the surface has to be clean, dry, and able to absorb it. Work in small sections. If you spray or roll the stain on, brush it in right away to push it into the grain, cracks, and joints. That step helps cut down on lap marks and blotchy absorption.
Timing matters in the San Gabriel Valley. Don't apply stain in direct sun or during peak afternoon heat, because it can dry too fast before it has time to soak into the wood. In summer, early morning is often the better time to work. It's also smart to stay off windy days, especially during Santa Ana conditions, so dust and debris don't stick to the wet finish.
Applying Paint for Full Coverage and Better Adhesion
Paint works differently. It forms a film on the surface, so adhesion matters a lot. Prime bare wood first, especially cedar and redwood, and then apply exterior paint after the primer dries. Work from top to bottom - rails first, then pickets - so drips fall onto spots you can still smooth out. Pay close attention to the top edges of fence boards. Those edges act like straws and pull in moisture if they aren't coated well.
After each coat dries, look for drips, lap marks, and missed spots before moving to the next step. Apply finishes when temperatures are between 50°F and 90°F. If the fence is badly damaged, very tall, or tough to reach, professional application is the better call. When prep or access starts to feel like too much, that's usually the point where outside help makes sense.
When to Hire a Professional for Fence Painting or Staining
Projects That Usually Call for Professional Help
Some fence jobs are fine for DIY. Others are better left to a pro.
If your prep work turns up major repairs, lead risk, or hard-to-reach areas, it’s smart to stop there and bring in help. Large, damaged, or lead-risk fences often fall into that camp. For example, fences over 250 linear feet can be too much for a typical DIY project.
The same goes for fences with failing coatings that need heavy scraping, sanding, or chemical stripping. That kind of prep gets messy fast. And if the fence has lead paint, it needs lead-safe handling. You also need to deal with any rotted bottom rails or damaged boards before adding paint or stain.
If you live in Pasadena historic districts like Bungalow Heaven or Madison Heights, there’s one more thing to watch for: exterior color changes may need Design Review approval. It’s also smart to check HOA rules before changing your fence color.
How Huff Painting Co. Supports Fence and Exterior Projects
Huff Painting Co. holds California license #451832 and works with residential and commercial properties across the San Gabriel Valley. Their fence-related services include exterior painting, fence and deck staining, power washing, lead-safe prep, and wood repair.
They also use commercial-grade UV-resistant coatings made for the hot, dry local climate. That matters, because good prep can help exterior finishes last longer in those conditions. Custom quotes are available for projects in Sierra Madre and nearby communities.
Conclusion: Match Your Finish to Your Fence and Maintenance Goals
The best finish comes down to your wood type, your fence’s current condition, the look you want, and how much upkeep you can live with.
Stain tends to fade bit by bit and is easier to recoat. Paint often lasts longer, but when it starts to fail, the prep work is usually tougher. The goal is simple: match the finish to the fence, not just the color.
FAQs
Should I strip old stain before recoating my fence?
It depends on what’s already on the fence and how well that finish is holding up.
If the fence is stained and the stain is still in good shape, you can usually clean the surface and add another coat. But if the stain is peeling, you’ll need to strip it first.
Paint is a different story. If the fence was painted, you usually can’t switch to stain unless you fully strip off the paint.
If you’re repainting, focus on the problem spots. Scrape and sand only the areas where the paint is peeling, cracking, or flaking. If the rest of the paint is still sound, you can clean it and paint over it.
How do I know if my new fence is dry enough to paint or stain?
Give your fence 48 to 72 hours of dry, mild weather after cleaning or rain before you paint or stain it. The wood needs to be fully dry. If it still holds moisture, the finish may not stick well.
Some new wood needs a few weeks to season. But in most cases, you should finish it as soon as it’s dry so you can help guard it against sun and moisture. It’s also smart to avoid working when there’s dew, high humidity, or extreme temperatures.
What finish is best for a fence that gets full sun all day?
For fences in the San Gabriel Valley that sit in full sun all day, high-quality exterior paint and solid-color stain give you the best UV protection.
Paint forms a thick, opaque layer over the wood. Solid-color stain offers similar coverage, but it also soaks into the wood, which helps it flex and stand up better against cracking or peeling.
Either way, go with UV-resistant, commercial-grade products made for hot, dry climates.
More guides
- The Best Accent Wall Colors for San Gabriel Valley Homes in 2026
- Understanding Paint Sheens: Which Finish for Which Room
- Painting Your Airbnb, Tips for Maximum Booking Appeal
- Whole House Repaint in Pasadena, What a Full Interior and Exterior Project Actually Involves
- Pre-Rain Painting and Caulking Checklist for SoCal Homes
Related painting services
If this article covers something you are planning, these pages go into what the work actually involves on a job.
- Interior painting for walls, ceilings, trim, and cabinets, including how we mask and protect a house you are still living in.
- Single family home painting for a whole house inside or out, from the first walkthrough to the final punch list.
- Apartment building painting for owners and property managers with occupied units and common areas that have to keep working.
- Painting in Pasadena and the rest of the San Gabriel Valley, with the local prep, permit, and historic district notes that apply there.