
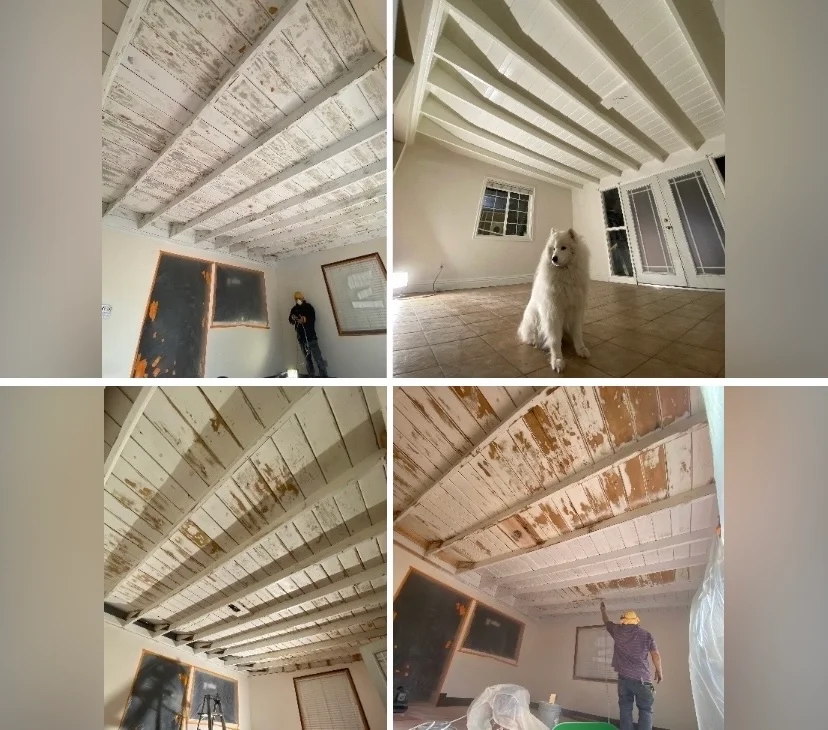
If I want a garage paint job to last, I need to do three things in the right order: prep well, paint walls first, paint cabinets next, and coat the floor last.
That order helps me avoid splatter, cut down on touch-ups, and protect the floor while it cures. It also makes the garage brighter, easier to clean, and more useful day to day. In most paint jobs, prep takes more time than painting, and that’s often what decides whether the finish lasts for years or starts peeling early.
Before I start, I keep these points in mind:
- Empty and cover the space
- Clean all surfaces and remove grease
- Fix cracks, peeling paint, and damaged spots
- Prime bare or repaired areas
- Use two coats on walls and cabinets
- Leave the concrete floor for last because it needs the most cure time
- Wait until everything is fully dry before moving items back in
A full garage repaint is not just about color. It’s about sealing dusty surfaces, making cleanup less of a chore, and helping light bounce better across the room. Done in the right sequence, the result looks better and holds up longer.
| Surface | What I focus on | Paint order |
|---|---|---|
| Walls | Cleaning, patching, primer, wipeable finish | 1st |
| Cabinets | Degreasing, sanding, spot-priming, two coats | 2nd |
| Concrete floor | Crack repair, etching or grinding, sealer, cure time | 3rd |
The short version: I get the best result when I treat the garage like a step-by-step project, not one big paint day.
1. How to prep your garage for durable paint
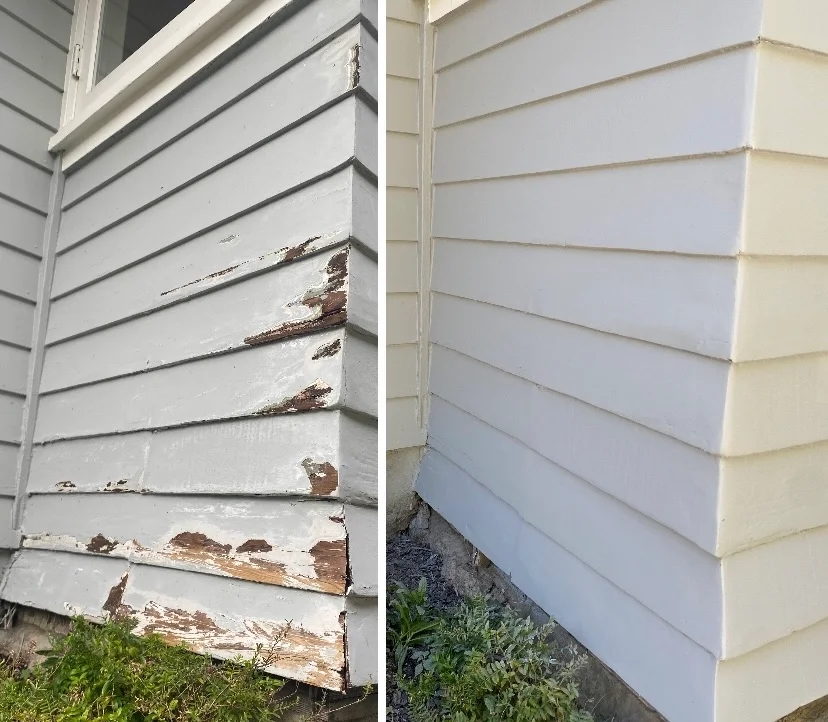
If you want garage paint to last, prep is the part that does the heavy lifting. Skip it, and you’re asking for peeling, cracking, and flaking later. Huff Painting Co. points to prep work and premium coatings as the base of a finish that holds up. So before any paint goes on, clear out the garage, clean every surface, and look for damage, grease, and moisture. Walls, cabinets, and concrete each need their own prep. Do that work up front, and the wall, cabinet, and floor steps go a lot smoother.
Clear, clean, and protect the work area
Start by moving vehicles, shelf contents, and loose storage bins all the way out of the garage. You want open access to the walls and floor, not a maze of stuff to work around. If something can’t be moved, cover it with plastic sheeting or drop cloths.
Then mask the areas you don’t want painted. Use painter’s tape on trim, outlets, windows, and doors so the paint stays where it should.
Repair and prep each surface before priming
The easiest way to stay organized is to prep each surface on its own.
| Surface | Prep Steps |
|---|---|
| Walls | Clean dust and debris, scrape loose paint, sand rough areas, and caulk cracks or gaps |
| Cabinets | Scuff-sand glossy surfaces, wipe off dust, and degrease |
| Concrete floor | Sweep and vacuum, degrease oil spots, fill cracks with concrete filler, and let the floor dry completely |
Degreasing matters most anywhere you see oil spots or residue. Paint and other coatings stick better to a clean surface, plain and simple. After everything is cleaned, dried, and masked, prime any bare spots before topcoating.
Don’t coat damp concrete or paint before rain. Moisture can get in the way of proper bonding. Once the surface is dry, the garage is ready for wall paint and cabinet coatings.
2. How to paint garage walls for a brighter, easier-to-clean surface
Start with the walls once the garage is cleared.
Patch, prime, and pick the right wall finish
With the space empty and repairs dry, go straight to the walls. This part is all about fixing damage, priming well, and choosing a finish that won’t be a pain to wipe down later.
Check the walls for peeling, cracking, or flaking paint. Clean off dust and debris, then scrape and sand any loose areas. Repair any damaged spots and let them cure before you prime. If the old paint is still in good shape, clean it and lightly scuff-sand it before recoating. Spot-prime repaired areas and any exposed drywall or masonry, and use a full primer coat if the surface needs even coverage and better adhesion.
For drywall, use a satin or semi-gloss finish so the walls are easier to clean. For masonry or stucco, use an elastomeric coating for more flexibility and moisture resistance.
Cut in edges and roll walls in sections
Cut in the edges with a brush, then roll each wall in sections so you can keep a wet edge. After priming, apply two coats and give each coat the right amount of dry time. Put on the second coat only after the first coat is fully dry.
Once the walls are dry, move on to the cabinets.
3. Paint cabinets first, then coat the garage floor
Once the walls are dry, move on to the fixed surfaces: cabinets first, then the concrete floor.
How to prep and paint wood or metal garage cabinets
Start by cleaning every cabinet surface. Then check for paint that's peeling, cracking, or flaking. Scrape and sand those spots until the surface feels solid and the old paint is still sticking well. If you repaired any areas or exposed bare material, prime those spots before you paint.
For a finish that holds up, apply two coats of durable cabinet paint. Let each coat dry all the way before adding the next one.
After the cabinet paint dries, shift to the floor. It takes the most work up front and the longest cure time.
How to prep, coat, and cure a concrete garage floor
The floor comes last, and it needs the heaviest prep. Sweep and vacuum first, then clean it well. Repair any cracks. If the concrete is smooth or sealed, etch it or grind it so the coating can bond the way it should.
Next, apply the recommended primer or sealer before the topcoat. Let the floor cure fully before you start using the garage again.
Surface comparison table: walls, cabinets, and floors
| Surface | Prep Level | Primer or Sealer | Finish or Coating |
|---|---|---|---|
| Walls | Clean dust and debris, scrape loose paint, sand rough areas, and caulk cracks or gaps | Spot-prime repaired areas; full coat if needed | Two coats of satin or semi-gloss paint |
| Wood or metal cabinets | Clean, scrape failing paint, sand, and prime bare spots | Primer on bare or repaired areas | Two coats of durable paint |
| Concrete floor | Clean, repair, etch or grind if needed | Primer or sealer suited to concrete | Floor coating or paint |
4. Final steps and when to call Huff Painting Co.
Tape removal, drying, and cleanup
After the final coat cures, wrap up with cleanup and one last inspection. Remove all masking, plastic sheeting, and drop cloths once the painting is done. Then do a final walk-through and look closely at edges, corners, and overall coverage. Put items back ONLY after the walls, cabinets, and floor have fully cured.
When to hire a professional painter
If prep turns up deeper damage, stop before you coat the surface. Moisture problems, large concrete cracks, damaged drywall, or peeling old coatings usually mean the garage needs repair work first. If you paint over those problems, the new finish often fails fast. That's what happens when prep gets rushed.
For homeowners in Sierra Madre and the surrounding San Gabriel Valley, Huff Painting Co. is a family-owned company that specializes in garage floor coatings, fine cabinetry painting, and drywall repair. Contact Huff Painting Co. for a free estimate.
FAQs
How long will the whole garage project take?
The timeline for a garage makeover depends on two main things: the size of the garage and how much work the project involves.
A simple update can move along fast. A more involved job, with prep work, repairs, and multiple finishing steps, will take longer.
Contact Huff Painting Co. for a free estimate and a professional assessment of your project timeline.
What type of paint works best in a garage?
The best pick for garage surfaces is a specialized, commercial-grade coating built for high-traffic spaces. A good, durable paint can handle temperature swings, heavy weight, moisture, and stains without wearing down too fast.
Look for products with strong adhesion and a hard, resilient finish. That gives garage floors and walls longer-lasting protection and helps them hold up under daily use.
How long before I can park in the garage again?
Wait at least 72 hours after your garage floor coating is done before parking in the garage again.
That extra time gives the coating a chance to cure and helps prevent damage to the finish. For the exact timing, check with your project team, since temperature and humidity can affect how long the final hardening process takes.
More guides
- Understanding Paint Sheens: Which Finish for Which Room
- Painting Your Airbnb, Tips for Maximum Booking Appeal
- Whole House Repaint in Pasadena, What a Full Interior and Exterior Project Actually Involves
- Pre-Rain Painting and Caulking Checklist for SoCal Homes
- Best Painting Contractors in La Cañada Flintridge CA (2026 Comparison)
Related painting services
If this article covers something you are planning, these pages go into what the work actually involves on a job.
- Interior painting for walls, ceilings, trim, and cabinets, including how we mask and protect a house you are still living in.
- Single family home painting for a whole house inside or out, from the first walkthrough to the final punch list.
- Apartment building painting for owners and property managers with occupied units and common areas that have to keep working.
- Painting in Pasadena and the rest of the San Gabriel Valley, with the local prep, permit, and historic district notes that apply there.