
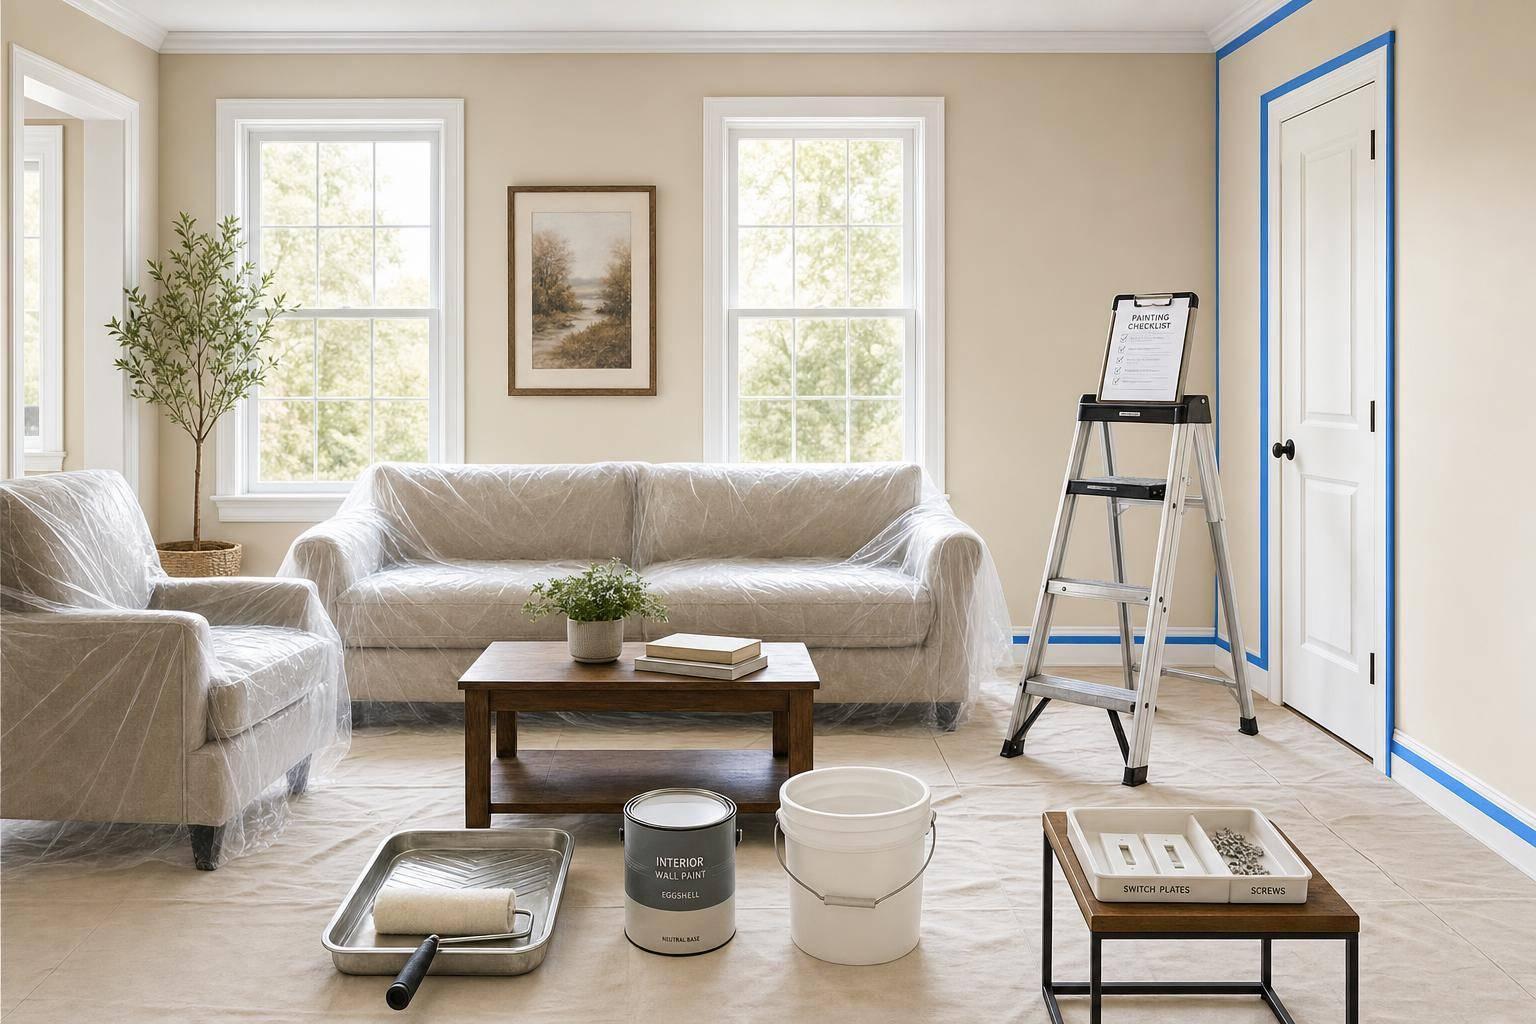
How to Prepare Your Home Before Interior Painting Day
Most paint problems start before the first brush touches the wall. If I want a smooth result, I need to do six things before painting day: clear the room, clean surfaces, scrape loose paint, patch small damage, protect floors and fixtures, and make sure the crew can move around safely.
Here’s the short version:
- Remove wall décor, curtains, rugs, and small items
- Move or cover furniture
- Clean walls, trim, and doors to remove dust and grease
- Scrape and sand any peeling paint
- Fill and sand holes, dents, and cracks
- Caulk small trim gaps
- Mask and cover floors, hardware, and fixtures
- Keep kids and pets out of the work area
A few facts make this worth doing: poor surface prep can lead to early peeling, and dust or grease can weaken paint bond. Even small wall flaws can stand out more after painting. In many rooms, I can cut day-of delays by doing 90% of the prep before the crew arrives.
In other words: prep is what helps the paint look smooth, last longer, and stay off the things I don’t want painted.
Before painting starts, I’d do one last check: Is the room clear, clean, dry, patched, covered, and easy to access? If the answer is yes, the job can start with fewer slowdowns and fewer messes.
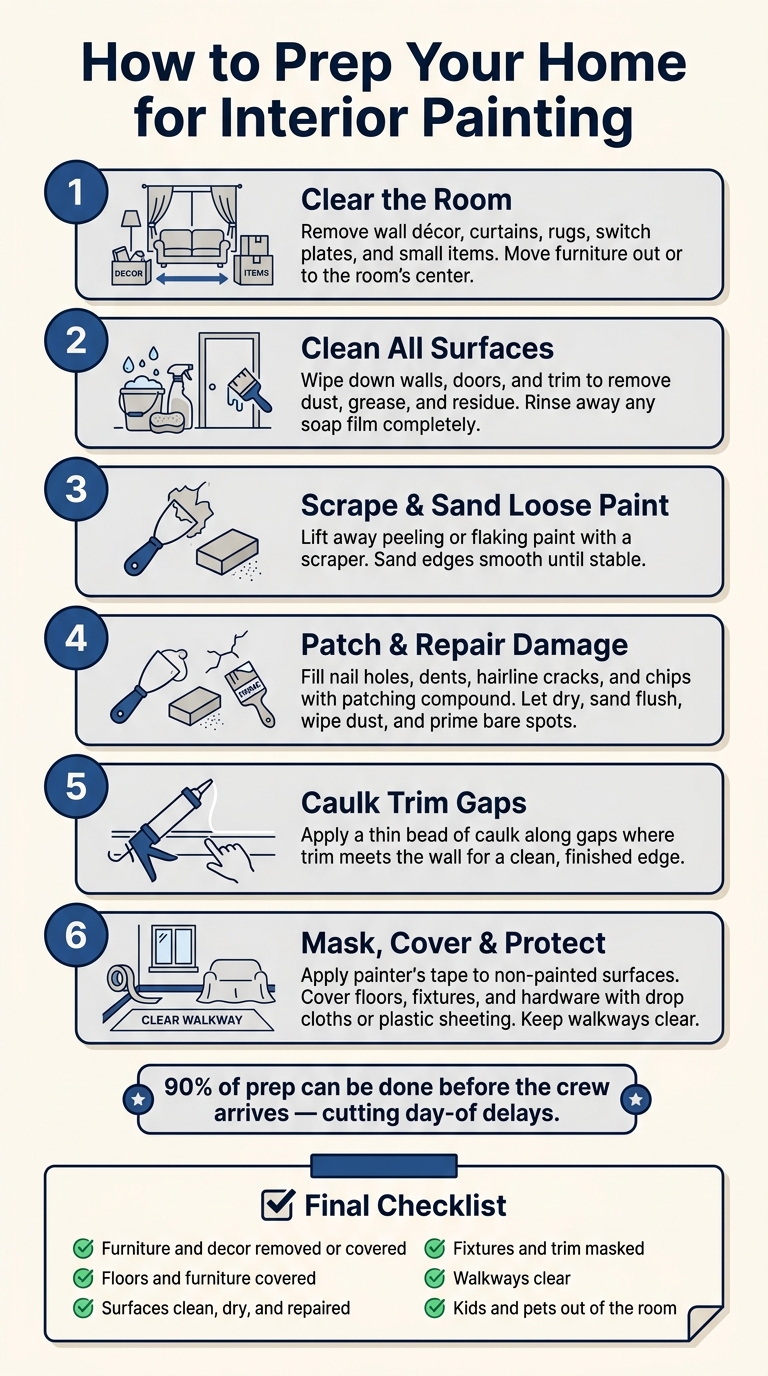
How to Prep Your Home for Interior Painting: 6-Step Checklist
How to Prep for Painting (w/ Monica from The Weekender)
sbb-itb-b9ba8eb
Clear the room and protect your belongings first
Before the painters arrive, open up the space as much as you can. Clear access to walls, ceilings, and baseboards helps the job move along without people weaving around obstacles. It also helps protect your things from dust and paint splatter.
Remove décor, soft goods, and small items
Start with the walls. Take down artwork, mirrors, clocks, and any other decorations. Remove curtains, drapes, and blinds so they’re out of the work area. Pick up area rugs too, which makes it easier to protect the floor and keep walkways open.
Take off switch plates and outlet covers as well. Store each cover plate with its screws so nothing gets misplaced.
Move furniture and keep walkways clear
Move furniture out of the room if possible. If something is too big or heavy to remove, place it in the center of the room and away from the walls. That gives painters a clear path around the perimeter instead of forcing them to work around obstacles.
A cluttered walkway slows the job and adds safety risks. Keep the path from the entry point to each wall clear.
Clean the surfaces before painting begins
Once the room is clear, turn your attention to the walls, doors, and trim. Paint bonds best to surfaces that are clean, solid, lightly sanded, and fully dry. A little prep here saves a lot of headaches later.
Wash away dust, grease, and residue
Wipe down walls, doors, and trim to clear away dust, grease, and leftover residue. After cleaning, make sure you don’t leave any soap film behind. Even a thin layer can get in the way of paint sticking the way it should.
Remove loose or peeling paint
If paint is peeling or flaking, it needs to come off before you repaint. Use a scraper to lift away the loose bits, then sand the edges until they feel smooth and steady. If the old paint is still in good shape and stuck down well, you can usually paint over it after cleaning and a light sanding.
Let surfaces dry completely
After cleaning and scraping, give every surface time to dry all the way before painting starts.
Fix minor wall and trim damage before painting day
Once the walls are clean and dry, take care of any damage before the painters get started. The goal is simple: leave the surface smooth enough that fresh paint hides the repair instead of highlighting it.
Check walls, ceilings, trim, and baseboards for damage
Go room by room and inspect each surface closely. Look for nail holes, dents, hairline cracks, chips, and peeling or flaking paint on the walls and ceilings. Then check the trim and baseboards for nicks, scuffs, damaged wood, and gaps at the joints.
It helps to move slowly here. A small flaw can seem minor now, but once a new coat of paint goes on, it can stand out like a sore thumb. Make note of anything that needs attention before painting begins.
Fill, dry, sand, and dust off repaired spots
For each problem area, fill it, let it dry, sand it smooth, and remove the dust before priming. Use patching compound for small holes and cracks, then give each repair enough time to dry all the way.
Once it's dry, sand the area flush so it blends in with the surface around it. After that, wipe away the dust with a damp cloth or tack cloth. Prime any bare spots or patched areas before painting.
Caulk small gaps along trim where needed
Small gaps where trim meets the wall can make a paint job look unfinished. Apply a thin bead of caulk along those joints to get a clean edge.
Try to handle repairs, patching, and caulking early, so everything has time to dry fully before painting starts.
Protect fixtures and run a final check before the crew arrives
Once repairs are dry, protect anything still in the room. This last round of prep can save you from paint drips, dust, and those annoying little scuffs that seem to show up out of nowhere.
Cover fixtures, hardware, trim, and floors
Mask nonpainted surfaces with painter's tape, and cover fixed fixtures and hardware with plastic sheeting. Tape floor coverings in place so they don’t shift underfoot. Use drop cloths or plastic sheeting to protect floors and walkways.
Keep the work area safe and easy to access
Make sure the crew can reach walls, corners, and trim without working around obstacles. Keep walkways open and easy to move through.
Move valuable items to another room instead of leaving them in the work area under a covering. It’s a safer bet. Also keep children and pets out of the room.
Conclusion: A day-before or morning-of checklist
Before the painters arrive, review this checklist:
- Furniture and decor removed or covered
- Floors and remaining furniture covered
- Surfaces clean, dry, and repaired
- Fixtures and nonpainted surfaces masked
- Walkways clear
- Children and pets out of the room
Good prep work helps the project start smoothly.
FAQs
How early should I start prepping?
Get your home ready as early as you can before your scheduled interior painting date. That gives Huff Painting room to start right away on your new finish.
If you clear the rooms and put personal belongings in a safe place ahead of time, the whole project tends to go more smoothly. It also helps you avoid that last-minute scramble.
What repairs should I leave to the painters?
Leave structural and surface repairs to the team at Huff Painting. They can inspect damaged wood or stucco, make the needed repairs, and take care of the prep work before any paint goes on.
That matters more than most people think. Good prep means the surface gets properly scraped, sanded, and primed, which sets the stage for a solid base and a high-quality finish.
Do I need to remove outlet covers and curtain rods?
Yes. Taking off outlet covers and curtain rods before interior painting helps you get a cleaner, more polished finish on walls and trim.
If you're working with Huff Painting, our team can walk you through the prep steps for your home in the San Gabriel Valley. Removing these fixtures also helps the paint go on more evenly, without gaps or messy edges around hardware.
More guides
- Deck Staining vs Deck Painting: Which Is Better for California Decks?
- 2026 Exterior Paint Color Trends for California Homes
- Fall Exterior Painting Guide: Why September Is the Best Month in Southern California
- Fence Painting and Staining: Complete Guide for San Gabriel Valley Homeowners
- Garage Makeover: Painting Walls, Floors, and Cabinets for a Complete Transformation
Related painting services
If this article covers something you are planning, these pages go into what the work actually involves on a job.
- Interior painting for walls, ceilings, trim, and cabinets, including how we mask and protect a house you are still living in.
- Single family home painting for a whole house inside or out, from the first walkthrough to the final punch list.
- Apartment building painting for owners and property managers with occupied units and common areas that have to keep working.
- Painting in Pasadena and the rest of the San Gabriel Valley, with the local prep, permit, and historic district notes that apply there.