
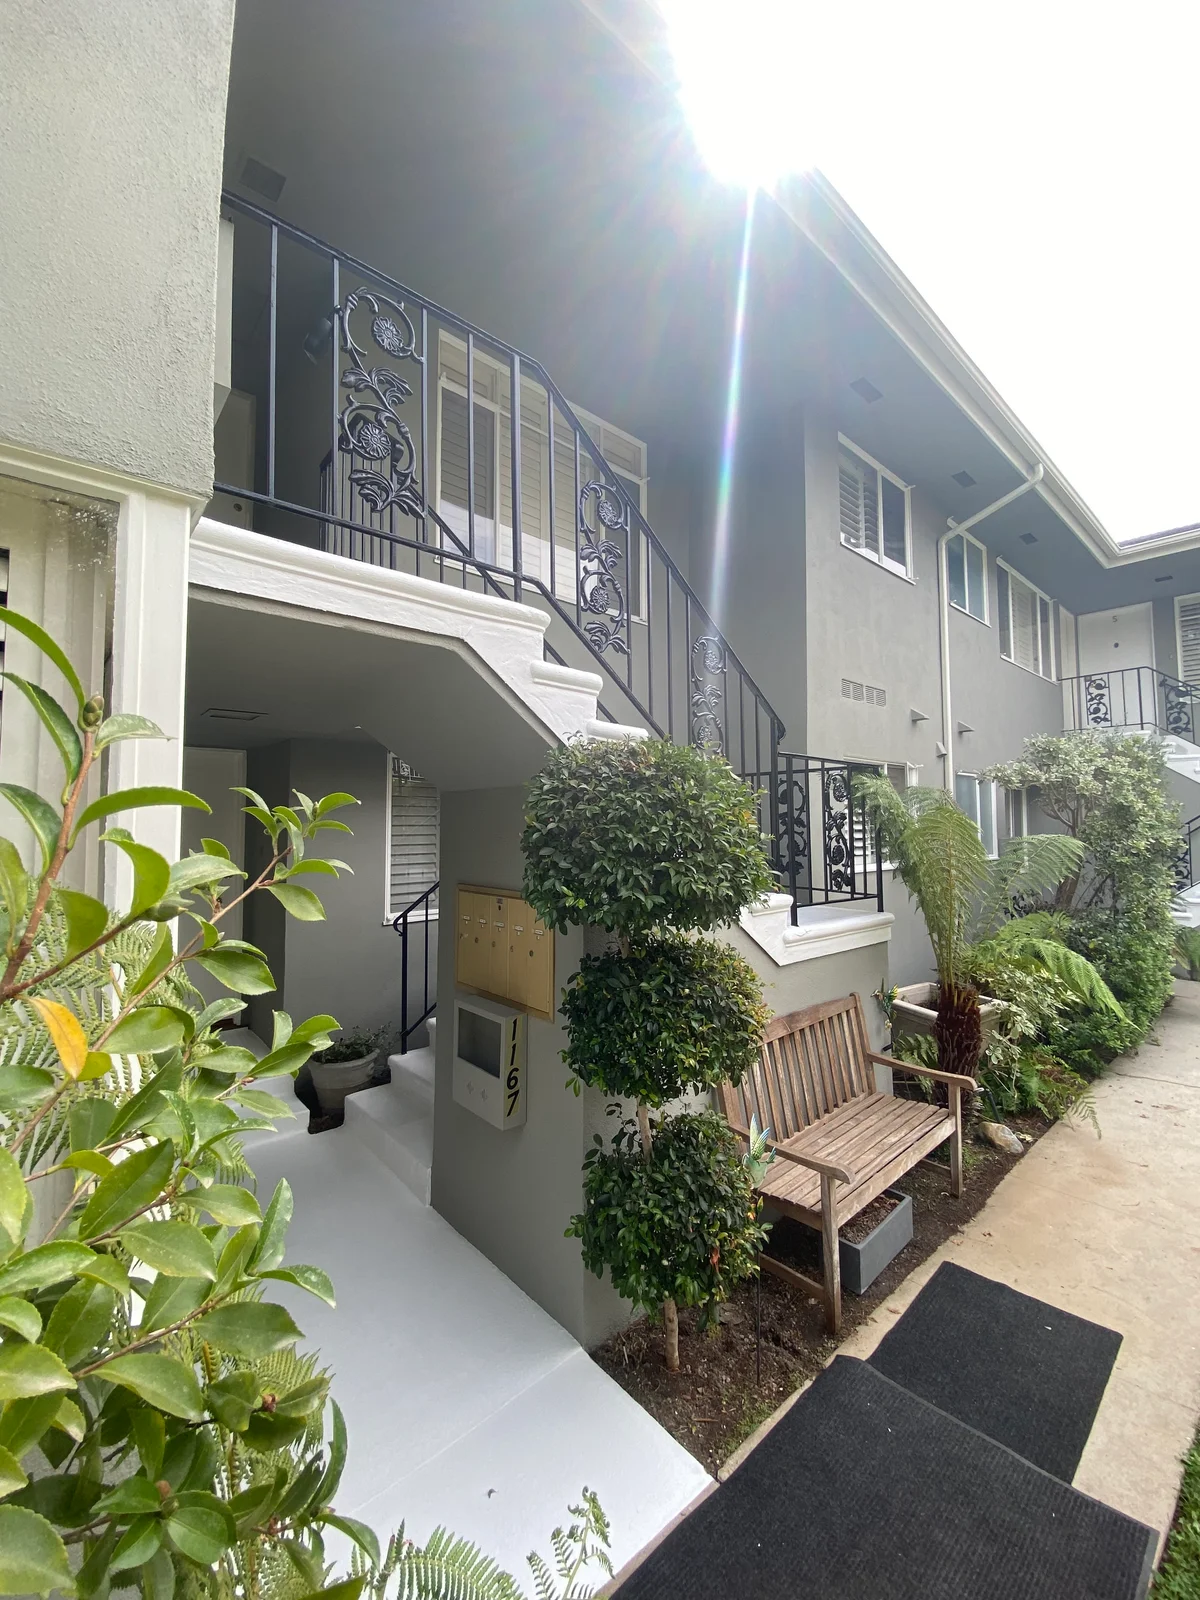
If your Altadena home came through the Eaton Fire with smoke damage, paint is the last step, not the fix. New paint over soot peels early, stains bleed back through, and the smoke smell returns on the first warm day. The repaint holds up when the surface underneath is clean, repaired, dry, and sealed with the right primer before a single finish coat goes on.
Here is the order of operations on a smoke damaged home:
- Confirm the house is safe to work on and any hazardous material has been handled
- Remove soot and oily residue from every surface that will be painted
- Repair scorched paint, damaged wood, stucco cracks, and failed caulk
- Let everything dry fully, which takes longer than most people expect
- Seal with a primer matched to the damage, then apply the finish coats
This guide covers each step, how the primer gets chosen, and what a realistic schedule looks like. For the basics of identifying and cleaning smoke damage, start with our earlier guide, smoke damage painting after the Eaton Fire. Our Eaton Fire painting and restoration page covers the full range of recovery work we handle.
Why smoke damaged surfaces cannot simply be repainted
Smoke leaves two things behind. The first is soot, a fine carbon residue that settles on every surface. The second is an oily film that carries the odor and works its way into porous materials like raw wood, stucco, and drywall.
Both are a problem for paint. Soot blocks adhesion, so a new coat bonds to the residue instead of the surface and lets go early. The oily film and the odor bleed through ordinary paint, which is why a fresh coat can look fine for a week and then yellow or smell. Heat does its own damage too. Paint that blistered or chalked near the fire line has lost its bond and has to come off, and caulk that cooked in the heat no longer seals.
Step 1: Make sure the house is ready for paint
Before any painter shows up, confirm the bigger issues have been addressed:
- Hazardous materials. Homes built before 1978 may have lead based paint, and older stucco, siding, and roofing can contain asbestos. Fire debris can carry its own hazards. Have testing and remediation handled by qualified professionals before surfaces are disturbed by scraping or sanding.
- Structural and moisture repairs. Roof, framing, window, and plumbing repairs come first. Painting before those are done means painting twice.
- Insurance documentation. Photograph the damage and keep your painting estimate itemized by prep, primer, and finish so the adjuster can see what the smoke work involves. Our estimates include before and after photos, itemized scopes of work, and material specifications for exactly this reason.
Step 2: Remove soot and residue
Cleaning is where the real work of a post fire repaint happens.
Outside, the exterior is power washed with a detergent to lift soot, ash, and chalked paint from stucco, siding, trim, and fascia. Heavy residue on wood may need scrubbing by hand and a second wash. Landscaping and walkways are protected while the washing happens.
Inside, dry cleaning comes before wet cleaning. Loose soot is lifted with dry chemical sponges and HEPA vacuuming first, because wet wiping loose soot smears it deeper into the surface. Then walls and trim are washed with a degreasing cleaner and rinsed.
The test is simple. Wipe a clean white cloth across a washed surface. If it still comes away gray or smells of smoke, the surface is not ready for primer.
Step 3: Repair what the heat and smoke damaged
Once the surface is clean, prep looks like a heavy version of a normal exterior job. Peeling, blistered, cracking, and flaking paint is scraped and sanded back to a sound edge. Charred or split trim is replaced. Bare wood is spot primed. Hairline cracks in stucco are opened, filled, and blended. Failed caulk around windows, doors, and trim is cut out and replaced so water cannot get behind the new paint. Firefighting water and the rain that followed the fire also left water stained drywall and ceilings in some homes. Those areas are repaired and sealed with a mold inhibiting primer before paint.
Windows, doors, walkways, and landscaping are masked with plastic sheeting and drop cloths before any priming or painting starts.
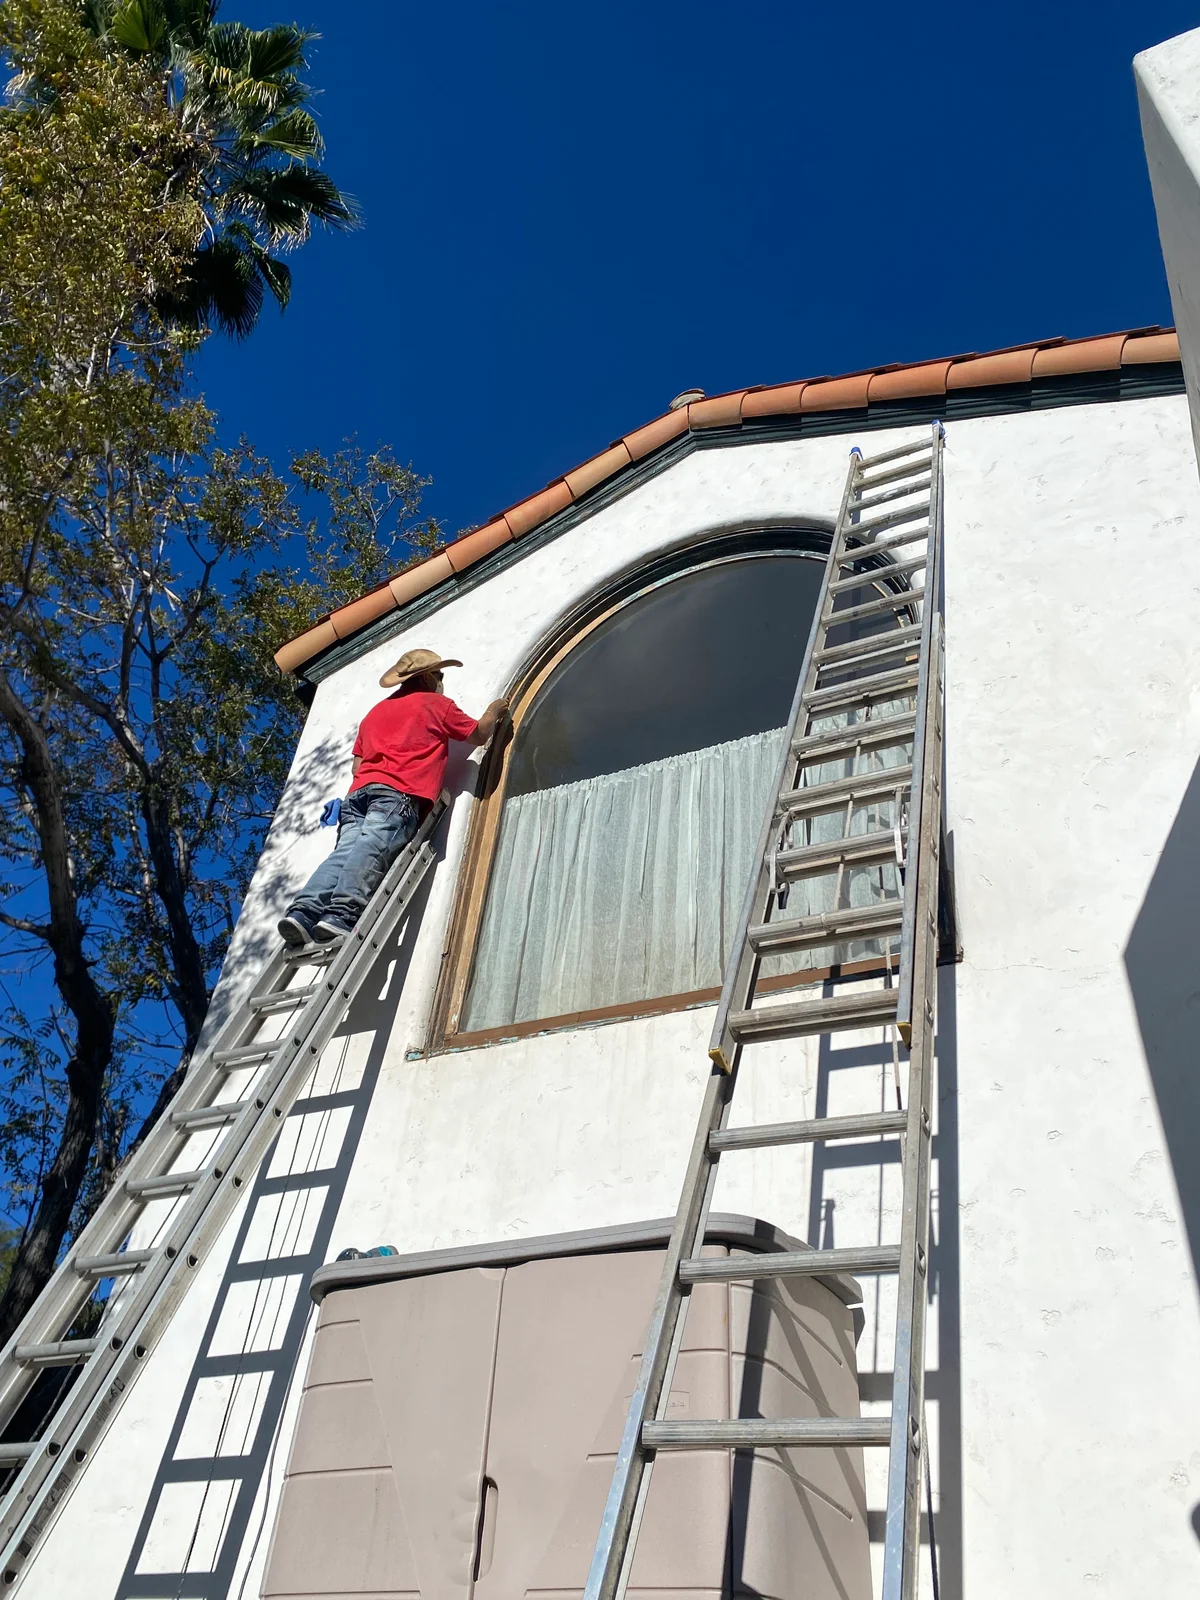
Scraping, sanding, and priming come before any finish paint on a smoke damaged exterior
Step 4: Let it dry
Power washing and hand washing push a lot of water into stucco and wood. Plan on at least one full dry day after washing, and more in shade, cool weather, or after rain. Wood should read dry on a moisture meter before primer goes on. Priming a damp surface traps moisture under the new film, and that shows up later as blistering and peeling.
Altadena's foothill location matters here. North facing walls and shaded elevations dry slowly, and mornings can stay damp well into fall. The schedule has to follow the weather, not the calendar.
Step 5: Choose the smoke sealing primer
The primer is what keeps stains and odor locked in. Matching it to the level of damage is the single most important product decision on the job.
| Level of damage | Typical primer | Notes |
|---|---|---|
| Heavy odor and staining, especially inside | Shellac based stain and odor blocking primer | The strongest sealer for smoke odor, mostly used on interior walls, ceilings, and trim. Zinsser BIN is the standard example |
| Heavy staining on exterior wood, trim, or masonry | Oil based or exterior rated stain blocking primer | Blocks tannin and smoke stains and bonds well to weathered wood |
| Light residue on sound, cleaned paint | Acrylic bonding and stain blocking primer | Enough for lightly affected surfaces once fully cleaned |
| Stucco with hairline cracking | Masonry primer, then an elastomeric finish | The elastomeric coat flexes with temperature changes and bridges small cracks |
Every primer needs to cure for the time on its label before the finish coat goes on, and oil based products usually need overnight. Huff Painting uses encapsulating primers such as Zinsser BIN and Kilz for odor sealing, and we choose the specific product after the inspection, once we know how deep the residue goes and what the surface is made of.
Step 6: Finish coats built for the foothill climate
With the surface sealed, the finish coats do what they normally do. Two coats of premium exterior paint go on, and we primarily use Sherwin-Williams Duration and SuperPaint along with Dunn-Edwards Evershield, products formulated for the hot, dry San Gabriel Valley climate with strong UV resistance and color retention. Stucco gets an elastomeric coating that flexes with temperature swings.
With proper preparation and premium paint, exterior finishes typically last 7 to 10 years in the San Gabriel Valley. A smoke damaged home that is prepped correctly lands in that same range. One that is painted over soot does not.
What a realistic timeline looks like
Every home is different, but the phases run in the same order. We prioritize fire damaged properties and can usually begin the assessment within days of your call.
| Phase | What happens | What controls the time |
|---|---|---|
| Inspection and estimate | Surfaces checked for residue, peeling, heat damage, and moisture, then a written scope | Access and how much of the home is affected |
| Remediation by others | Hazardous material and structural work, if needed | Testing results and contractor scheduling |
| Cleaning and prep | Washing, scraping, sanding, repairs, caulking, masking | Depth of the residue and how much paint failed |
| Drying | Surfaces dry after washing and repairs | Weather, shade, and the materials involved |
| Priming | Smoke sealing primer applied and cured | Primer type and cure time |
| Finish coats | Two coats of finish paint, then a final walkthrough with you | Home size and weather windows |
Late spring through early fall, April through October, gives the most reliable weather for exterior work. We monitor the forecast closely and never paint when rain is expected, so a wet week adds days to the schedule. Heavy smoke that reached into the substrate, major repairs, and lead or asbestos abatement all stretch the timeline. Light residue on paint that is still well bonded moves things along faster.
What it costs
A typical exterior repaint of a single story home in the area runs about $3,000 to $8,000, and larger two story homes run $6,000 to $15,000 or more. Smoke damage adds prep and primer on top of that, so expect the estimate to sit above the normal range for the same size home. We provide free on site estimates with a detailed scope of work, and itemizing the smoke related prep separately helps if you are working through an insurance claim.
Before you schedule paint work
Confirm these four things first:
- Safety. Any lead, asbestos, or fire debris has been handled properly.
- Soot is gone. Cleaning, scraping, and sanding are finished, and the white cloth test passes.
- Surfaces are dry. Washed areas have had time to dry completely.
- The primer matches the damage. Shellac, oil based, or acrylic, chosen for the surface and the stain level.
Huff Painting Co. is a family owned painting company based in Sierra Madre since 1980, licensed in California under license 451832, and we have worked in Altadena, Pasadena, and across the San Gabriel Valley for more than 40 years. Our exterior painting work starts with an inspection of every surface, and we stand behind the finished job with a written warranty. If you are ready to get your home back to normal, contact us for an estimate.
FAQs
How do I know if smoke damage is too severe to repaint?
Paint can only fix surfaces that are still sound. If siding, trim, or stucco is charred, crumbling, or has lost its structural integrity, that material has to be repaired or replaced before painting. Our inspection looks at every exterior surface, and when the substrate is intact it can be cleaned, sealed, and repainted. When it is not, we tell you what needs to be replaced first.
Which primer works best for smoke odor and stains?
For heavy odor and staining, a shellac based stain and odor blocking primer is the strongest option and the usual choice indoors. For heavy staining on exterior wood and masonry, an oil based or exterior rated stain blocking primer is the standard pick. Lightly affected surfaces that have been cleaned thoroughly can often be sealed with an acrylic stain blocking primer. The right one depends on the surface and how deep the residue goes, which is why we choose it after the inspection.
What can delay an exterior repaint after fire smoke?
Weather is the most common delay, because surfaces have to be fully dry and we will not paint when rain is expected. Beyond that, heavy residue that needs a second cleaning, more failed paint than expected, wood or stucco repairs, and hazardous material abatement all add time. Light residue on well bonded paint is the fastest case.
More guides
- The Best Accent Wall Colors for San Gabriel Valley Homes in 2026
- Understanding Paint Sheens: Which Finish for Which Room
- Painting Your Airbnb, Tips for Maximum Booking Appeal
- Whole House Repaint in Pasadena, What a Full Interior and Exterior Project Actually Involves
- Pre-Rain Painting and Caulking Checklist for SoCal Homes
Related painting services
If this article covers something you are planning, these pages go into what the work actually involves on a job.
- Interior painting for walls, ceilings, trim, and cabinets, including how we mask and protect a house you are still living in.
- Single family home painting for a whole house inside or out, from the first walkthrough to the final punch list.
- Apartment building painting for owners and property managers with occupied units and common areas that have to keep working.
- Painting in Pasadena and the rest of the San Gabriel Valley, with the local prep, permit, and historic district notes that apply there.