
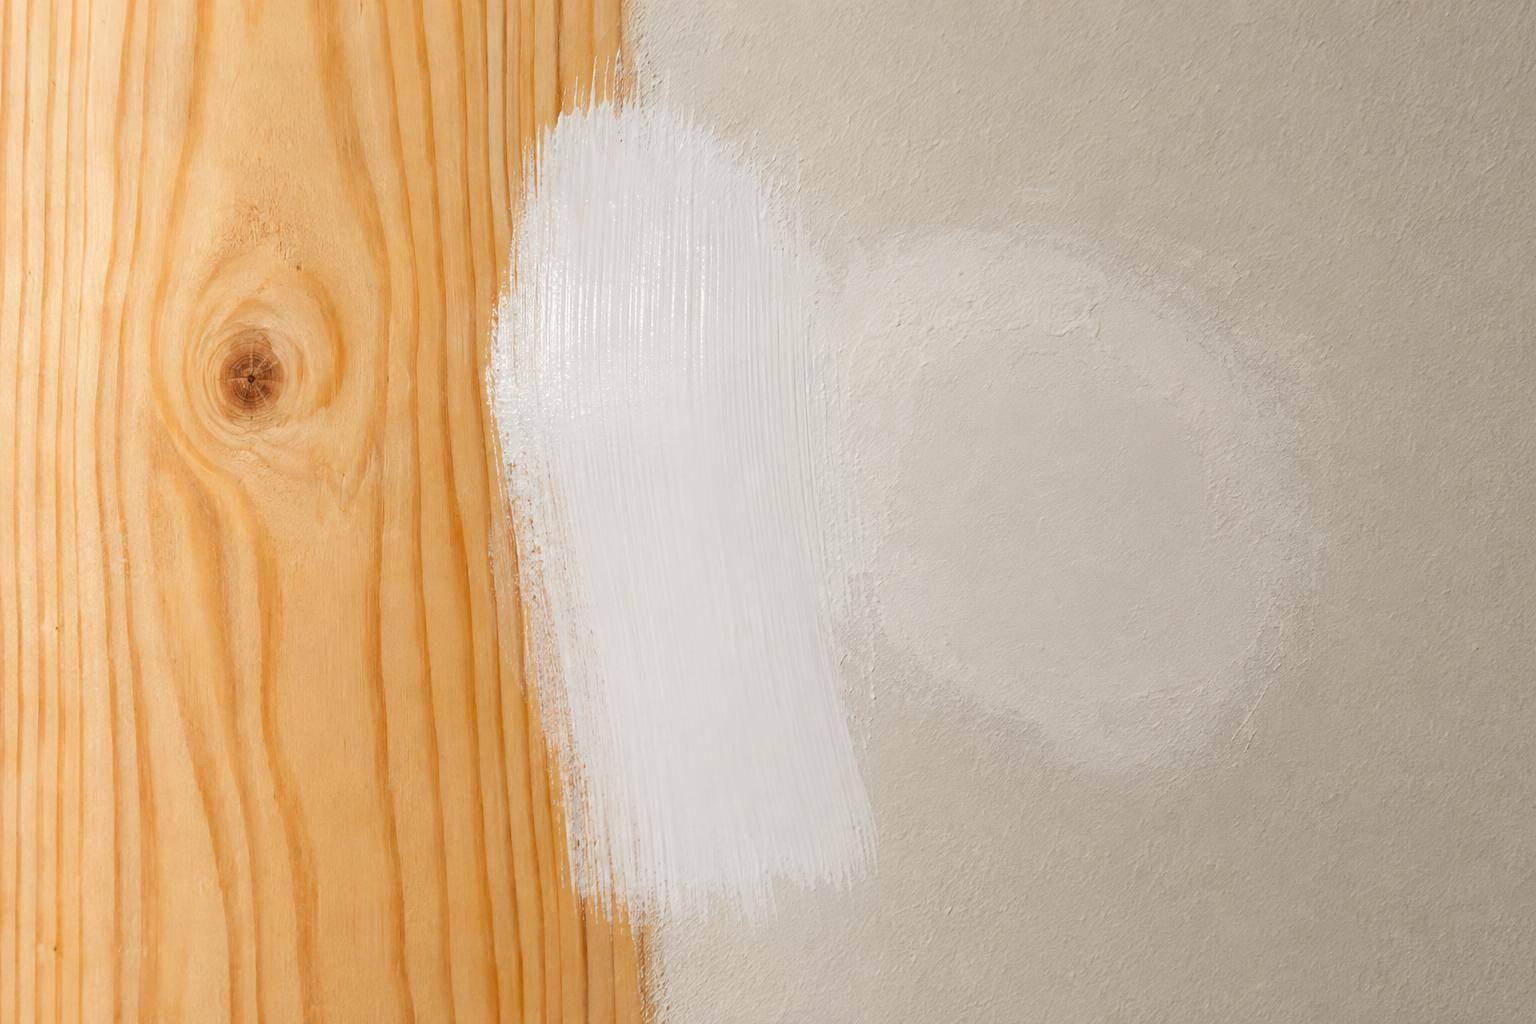
Why Primer Matters on Bare Wood and Patched Walls
I prime bare wood and wall patches before painting to help prevent stains, dull spots, and visible repairs. But first, I clean, repair, dry, and sand the surface - primer won’t hide bumps or ridges.
I choose primer based on 2 different needs:
- Bare wood: Seal uneven absorption and block tannins or knot stains when needed. For outdoor wood, use an exterior-approved primer.
- Wall patches: Control absorption so repairs blend with the wall. Spot-prime small repairs; prime the full area after large patches or skim coats.
I also check that the primer works with the finish paint and follow its drying instructions. Dry to the touch isn’t always <u>ready for paint</u>, especially in cool or humid conditions. If older paint may contain lead, I follow lead-safe preparation guidance.
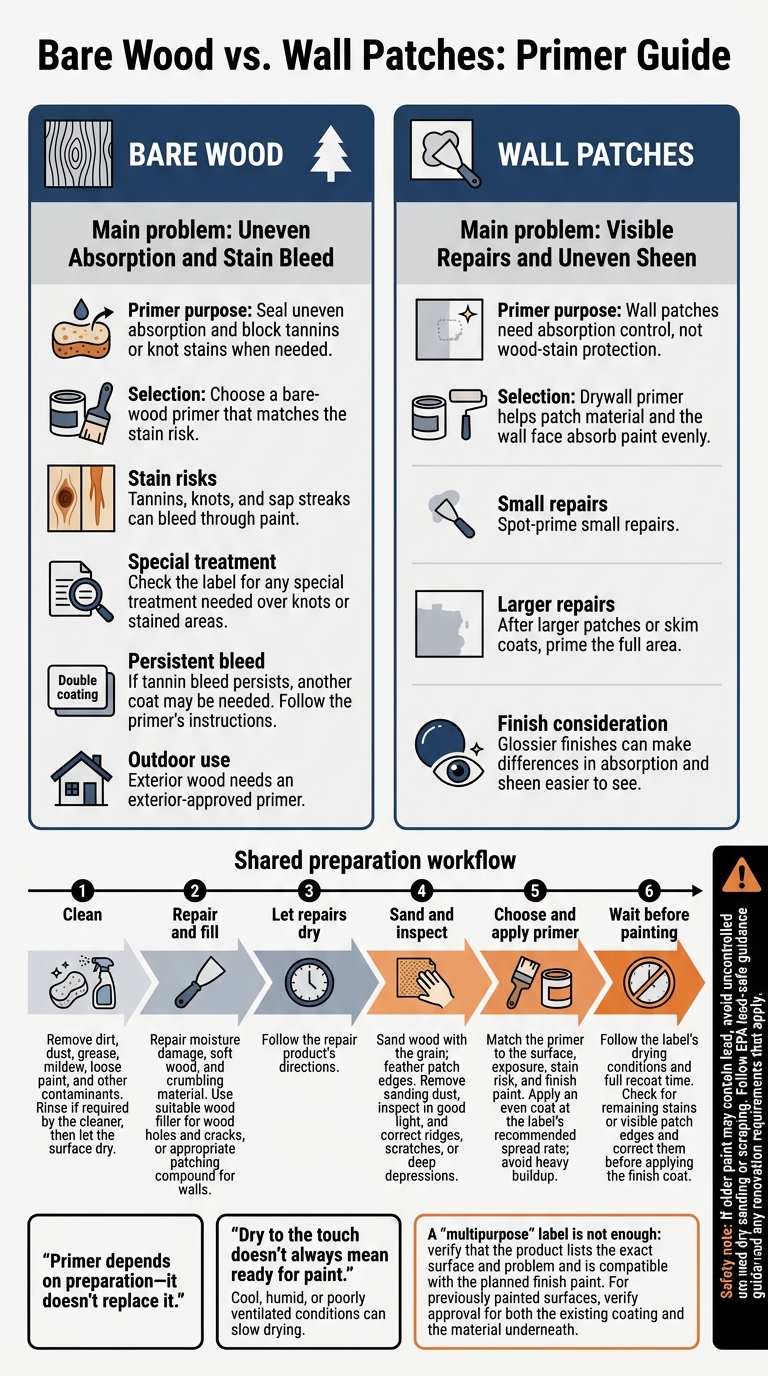
Bare Wood vs. Wall Patches: Primer Guide
Why Wood and Wall Patches Need Different Primers
Bare Wood: Uneven Absorption and Stain Bleed
Bare wood may need a stain-blocking primer to keep tannins, knots, and sap streaks from bleeding through paint. Choose a bare-wood primer that matches the stain risk.
Check the label for any special treatment needed over knots or stained areas. If tannin bleed persists, another coat may be needed. Follow the primer’s instructions.
Wall Patches: Visible Repairs and Uneven Sheen
Wall patches need absorption control, not wood-stain protection. Drywall primer helps patch material and the wall face absorb paint evenly. Glossier finishes can make differences in absorption and sheen easier to see.
Spot-prime small repairs. After larger patches or skim coats, prime the full area.
sbb-itb-b9ba8eb
How to spot prime drywall repairs and the reason why- Warsaw, Syracuse, Goshen and Columbia City IN
Choose Primer for the Surface and Exposure
Match the primer to the surface, exposure, and finish paint. For wood bleed-through or patch flashing, choose a primer labeled for that surface and stain risk. A “multipurpose” label isn’t enough - the product must list the exact surface and problem it covers.
Exterior wood needs an exterior-approved primer. Check that it works with your planned finish paint, whether you’re using a water-based or solvent-based topcoat.
For previously painted surfaces, choose a primer approved for both the existing coating and the material underneath. Complete the required surface preparation before applying it.
Follow the label’s drying conditions and recoat times.
Prepare and Prime Before Painting
Clean, Fill, Dry, and Sand
Remove dirt, dust, grease, mildew, loose paint, and other contaminants. Rinse if the cleaner calls for it, then let the surface dry. Repair moisture damage, soft wood, and crumbling material before priming.
Fill nail holes and cracks in wood with a suitable wood filler. For wall repairs, use an appropriate patching compound. Let each repair dry as directed. Then sand wood with the grain and feather patch edges into the surrounding wall. Level high edges and fix deep depressions - primer won't hide them.
Remove sanding dust and check the repair in good light. Sand again if ridges remain, and fix any remaining scratches before coating. If older paint may contain lead, avoid uncontrolled dry sanding or scraping. Follow EPA lead-safe guidance and any renovation requirements that apply.
Apply Primer and Allow Time Before Recoating
Primer works best on a clean, dry, smooth surface. Apply an even coat over all exposed wood and patched areas, using the label's recommended spread rate. Small repairs may need only spot priming; larger, uneven areas may need a full coat. Avoid heavy buildup.
Dry to the touch doesn't always mean ready for paint. Cool, humid, or poorly ventilated conditions can slow drying. Allow the label's full drying time before recoating.
On bare wood and patched walls, skipping prep leaves dirt, loose material, and ridges beneath the finish paint. Skipping primer causes uneven absorption, visible repairs, and inconsistent sheen.
Conclusion: Primer Works Best on Prepared Surfaces
Primer depends on preparation - it doesn’t replace it. It works only when the surface is clean, repaired, sanded, and dry.
Once the surface is ready, choose a primer that suits both the material and the problem. Use a stain-blocking primer if bleed-through is a risk. Follow the product label’s recoat time before painting, then check for remaining stains or visible patch edges. Fix those issues before applying the finish coat rather than hiding them under more paint.
For interior or exterior painting in Sierra Madre or the San Gabriel Valley, contact Huff Painting.
FAQs
Can paint-and-primer replace a separate primer?
No. Use a dedicated primer for a finish that lasts, especially on bare wood, repaired surfaces, or areas with stains and odors. Paint-and-primer products don’t replace a specialized primer that seals the surface, blocks stains, and helps topcoats bond and hold up over time.
Why are my wall patches visible after priming?
Wall patches often show through primer because they weren’t sanded smooth first. Paint won’t hide uneven texture - the room’s lighting can make differences between the patch and the surrounding wall stand out.
Fill nail holes or repair drywall damage, then sand the patched area until it’s flat and smooth. Do this before applying primer or a finish coat.
Should I sand bare wood after priming?
Yes, sanding is a key step in preparing bare wood. Before applying primer, scrape and sand any peeling, flaking, or damaged areas to leave a sound, smooth surface.
Huff Painting stresses that thorough prep helps your paint job last. Sanding and repairing the wood before priming helps finish coats stick properly and look professional for years.
More guides
- How Often Should You Repaint Your Home in Southern California?
- How to Choose the Right Interior Paint Finish for Every Room
- Interior Painting Tips for Homes with Pets and Kids
- Low-VOC vs Zero-VOC Paint: What Homeowners Need to Know
- Painting a Craftsman Home: Color Palettes and Preservation Tips for Pasadena Homeowners
Related painting services
If this article covers something you are planning, these pages go into what the work actually involves on a job.
- Interior painting for walls, ceilings, trim, and cabinets, including how we mask and protect a house you are still living in.
- Single family home painting for a whole house inside or out, from the first walkthrough to the final punch list.
- Apartment building painting for owners and property managers with occupied units and common areas that have to keep working.
- Painting in Pasadena and the rest of the San Gabriel Valley, with the local prep, permit, and historic district notes that apply there.